
Are you looking to change the font of your WordPress theme? Customizing the fonts on your WordPress website can help it stand out and match your brand’s aesthetic. This article will show how to modify fonts in WordPress themes.
We will examine some of the best methods for changing fonts. Upon completing this article, you will be better equipped to adjust fonts in WordPress themes for your website.
This article will provide the necessary steps for beginner and experienced users to make their WordPress site look its best. Now, let’s get started.
What Are Fonts?

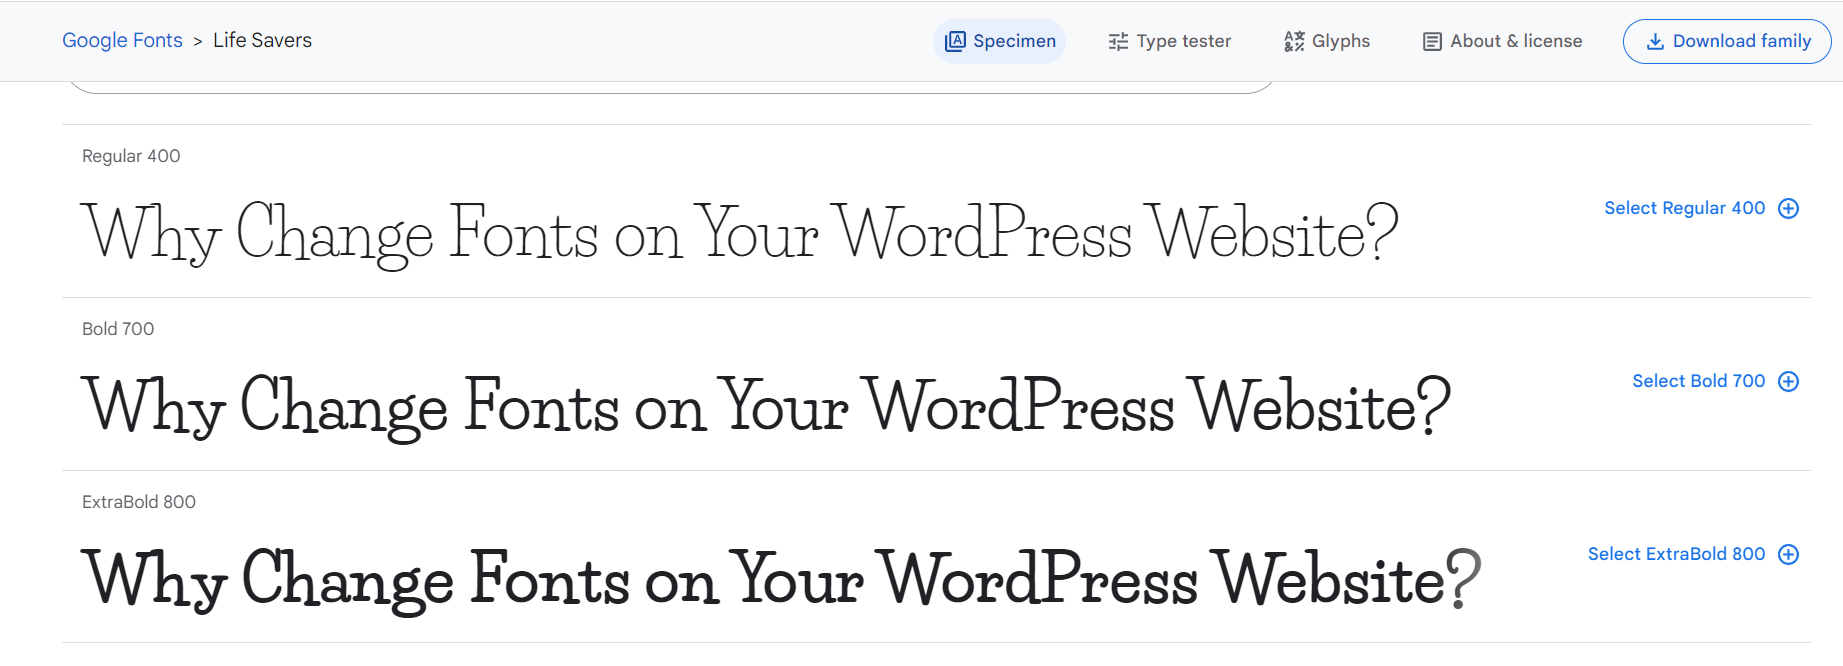
Fonts are a typeface or text designs used to display written language. They help to give a visual representation of the words we write. They play a crucial role in the overall design and appearance of a document or website and can help convey a certain mood or style.
Different fonts offer a range of styles, sizes, and weights that can be utilized to create emphasis or organize the text hierarchy.
They come in various designs and styles, from traditional serif and san serif fonts to more creative display fonts, script fonts, and display fonts with decorative elements.
The typeface can help give a document or text an overall feeling, tone, or mood that helps convey the message. The size and weight of fonts (boldness), the slant of the letters (italicization), and even the spacing between letters can vary.
Different fonts are also better suited for particular applications such as web or print design.
They play a huge role in creating effective designs because they influence how readers perceive the content and the overall look and feel of the design. These can also create interesting graphic effects, such as creating a 3D effect or adding texture to text.
Why You Should Change Fonts on Your WordPress Website
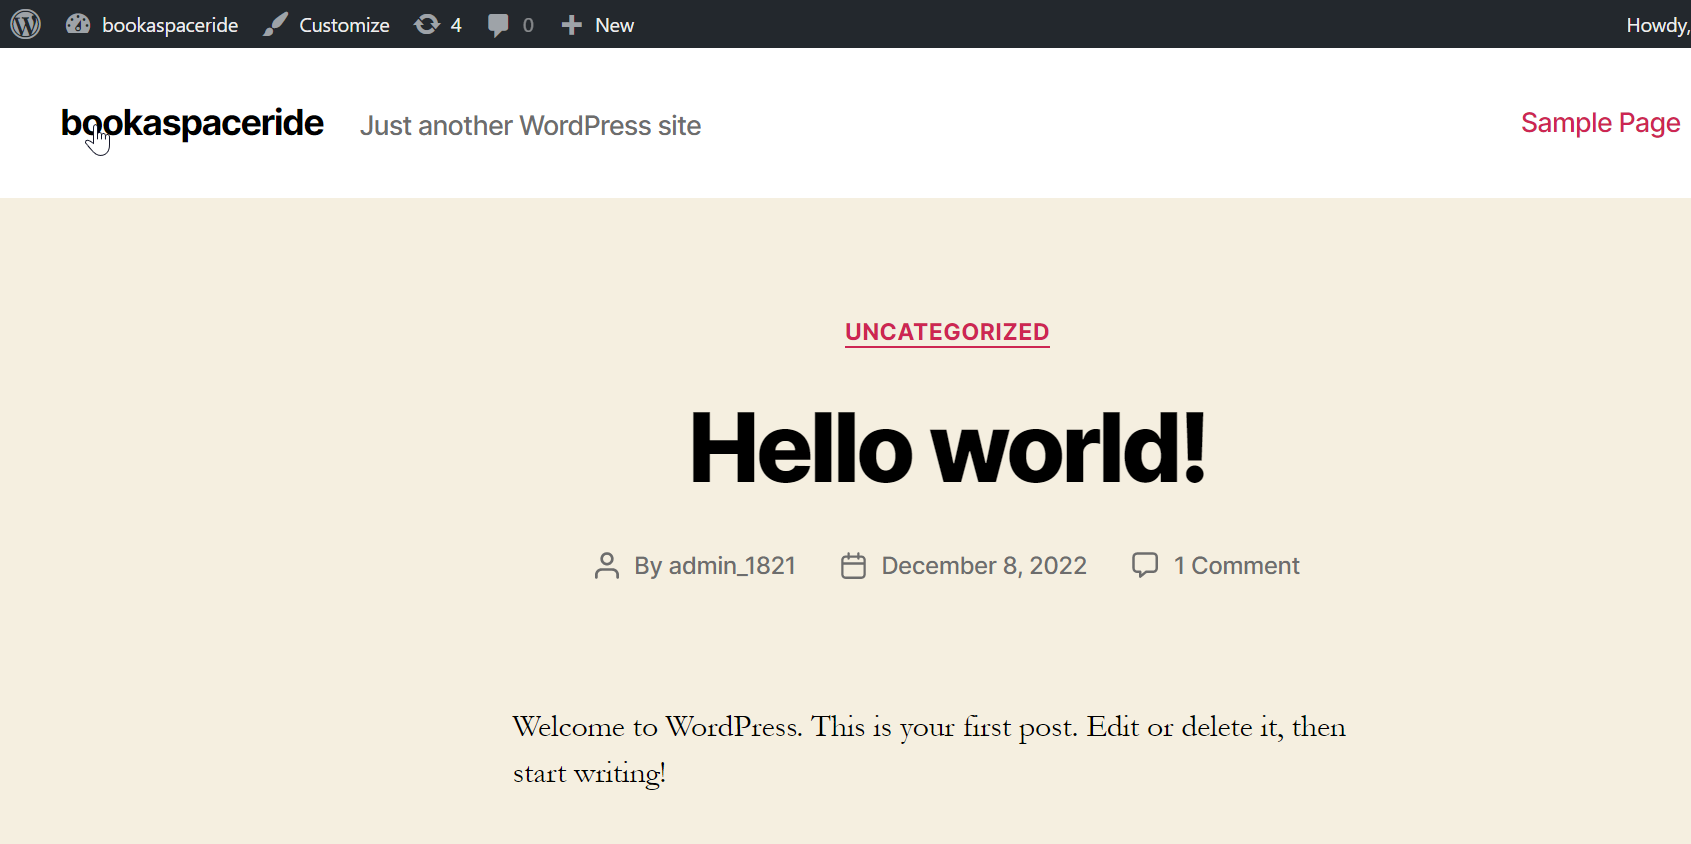
Changing the fonts on your WordPress website is an important way to give your site a unique visual style and personality.
Different fonts can help you convey ideas, create emphasis and clarity, and make your content easier to read. Unique or custom fonts can help your website stand out.
By taking the time to experiment with different fonts, you can give your WordPress website a more polished and professional look. Using a stylish font can also draw more attention to certain parts of a page, like headings or quotes.
Fonts also help create a pleasant reading experience for visitors, ensuring they stay on your site longer.
You can update the look of your website without making major changes by changing the fonts. By altering the fonts on your website, you can quickly update its appearance without making any major changes.
Additionally, when used properly, fonts can make it easier to navigate different parts of the website and find out the content they are looking for.
Choosing the appropriate font for your website can help create a distinct and attractive site that sets it apart from others in the market.
How To Change Fonts In WordPress Themes
We will examine some of the best methods for changing fonts. The following are the various methods for changing fonts in WordPress Themes.
1. Using the WordPress Customizer
Changing fonts in WordPress themes can be done easily using the WordPress Customizer. This tool allows for easy modification of the font style and size of the text elements in your theme. Here is a step-by-step guide on how to accomplish this:
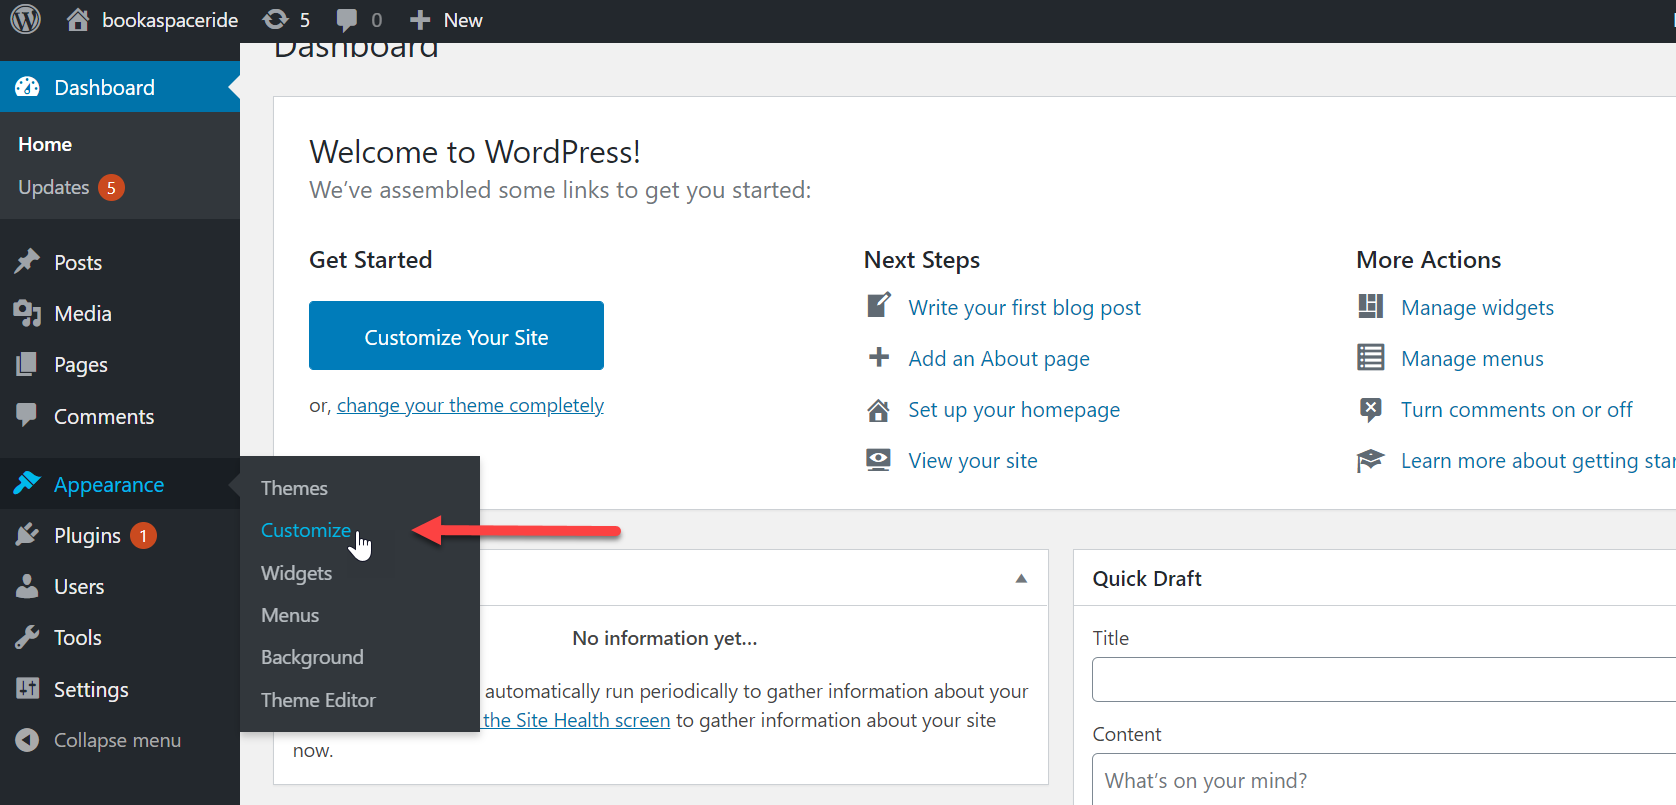
Have you considered changing the font style? As a first step, you must log into your WordPress dashboard. Logging into your WordPress dashboard provides a comprehensive view of ways to make customizations, including altering the font styling of your texts.
Go to ‘Appearance,’ then click on ‘Customize.’
Select the ‘Additional CSS’ option from the left side panel.
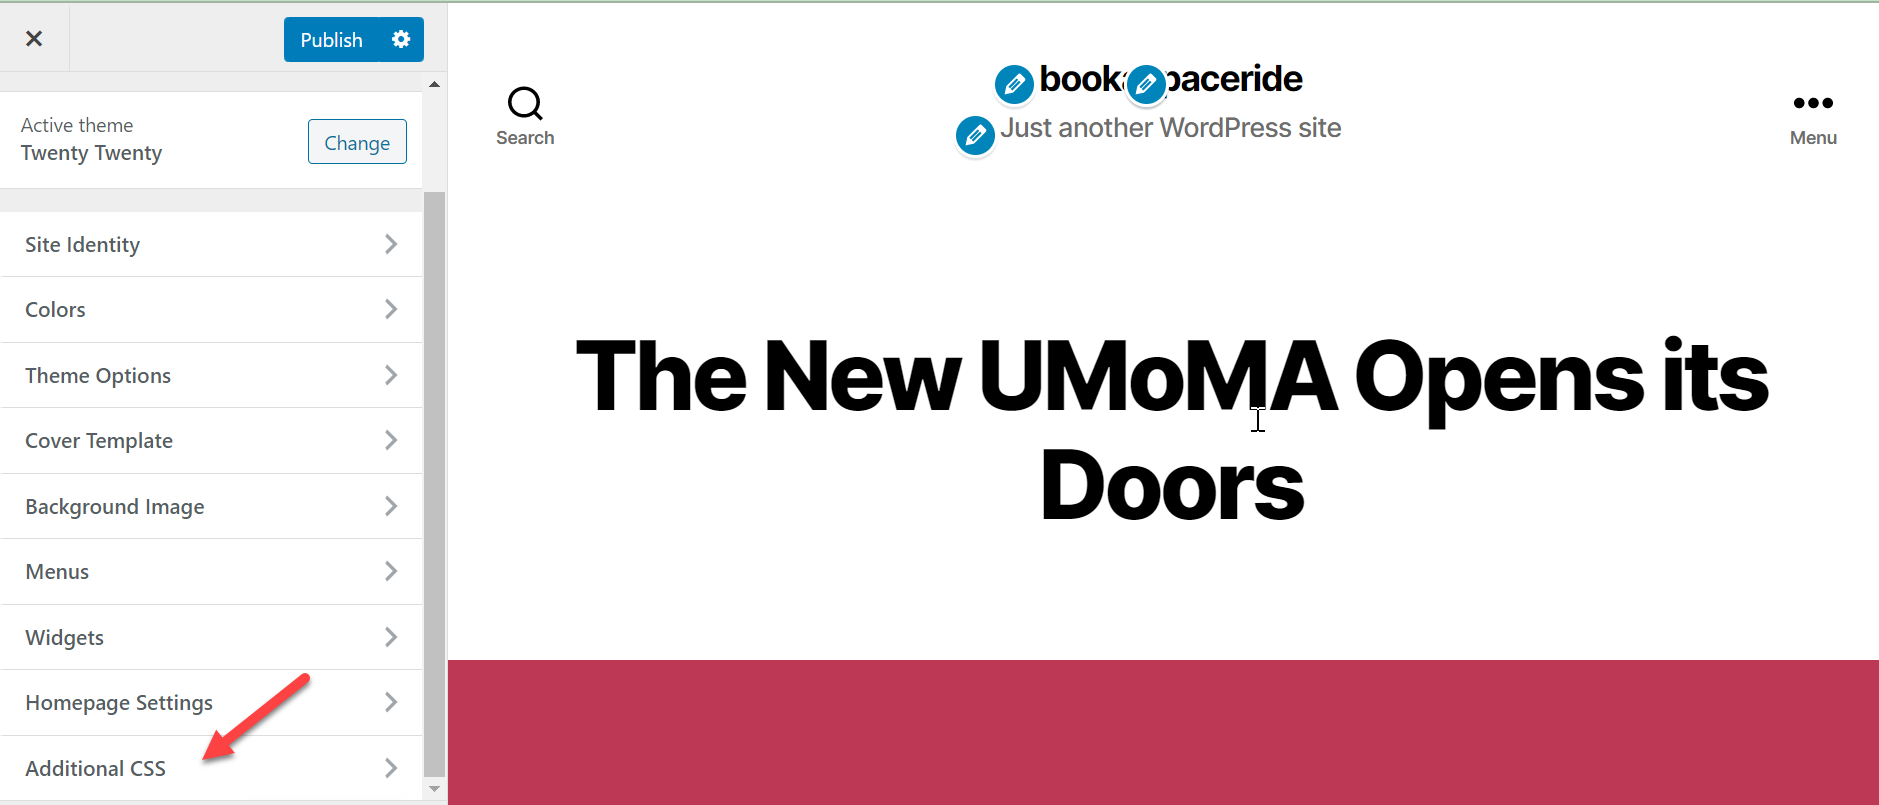
Now write the following code. And you can see the changes on your right side.
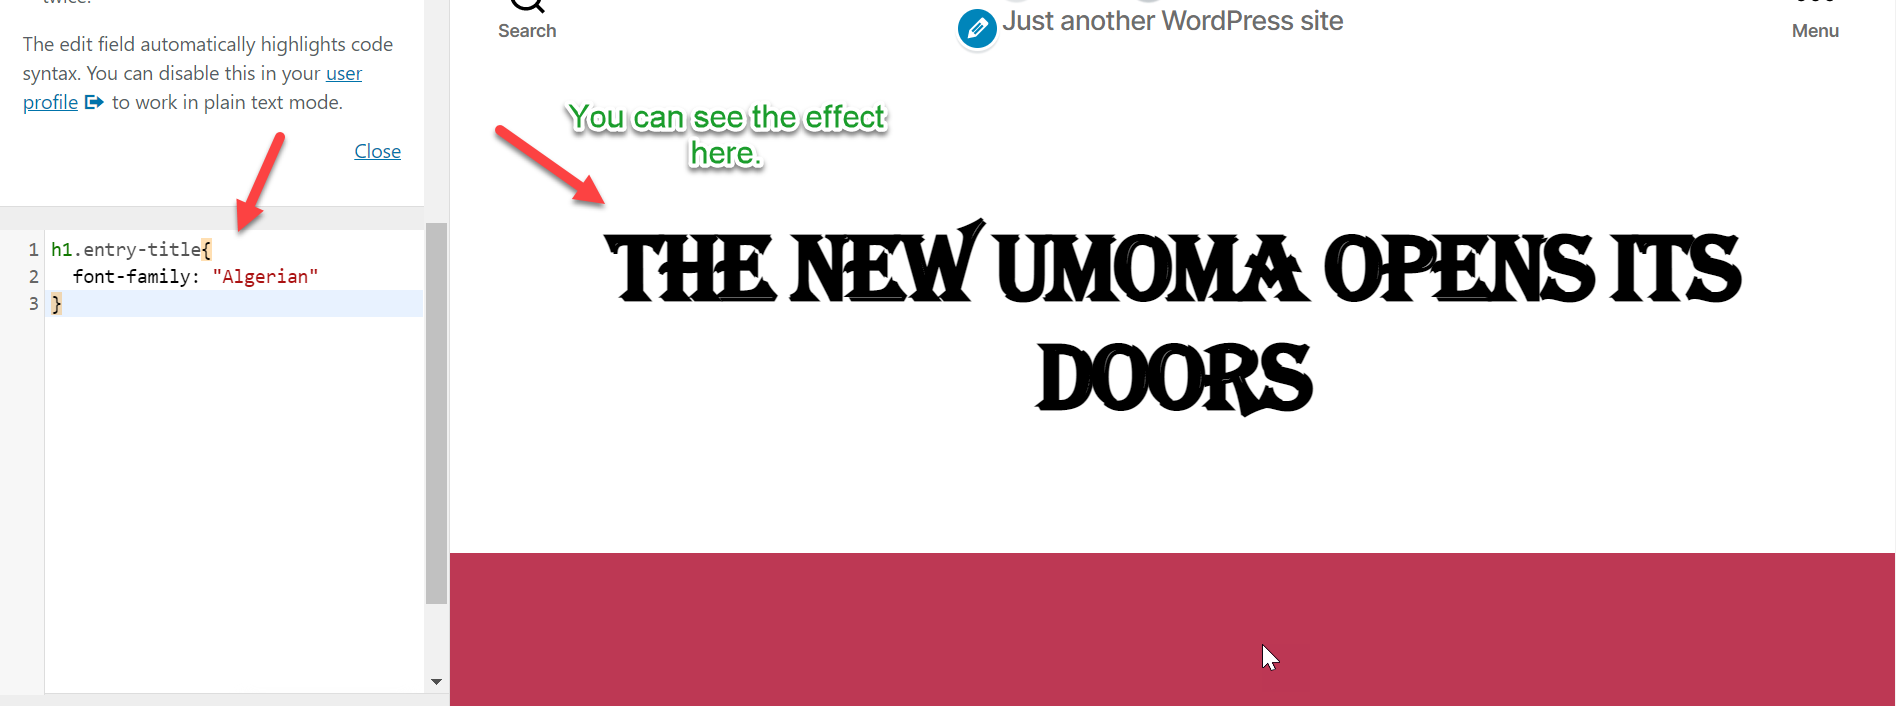
You can write any typeface in the font family. Check if your font has changed in the preview window. Once you have made the changes you want, click on ‘Save & Publish at the left side panel.
Finally, when satisfied with your changes, click ‘Publish,’ and your new fonts will be applied to the specific portion of your site.
That’s it. You have successfully changed the font of your theme using the WordPress Customizer. However, remember that this change will only affect your current theme and not any other themes you might have installed.
You must follow similar steps in the theme customizer to change other themes.
2. Using WordPress Full Site Editor
Changing fonts in WordPress themes through the WordPress Full Site Editor is straightforward. Follow these steps to make the changes:
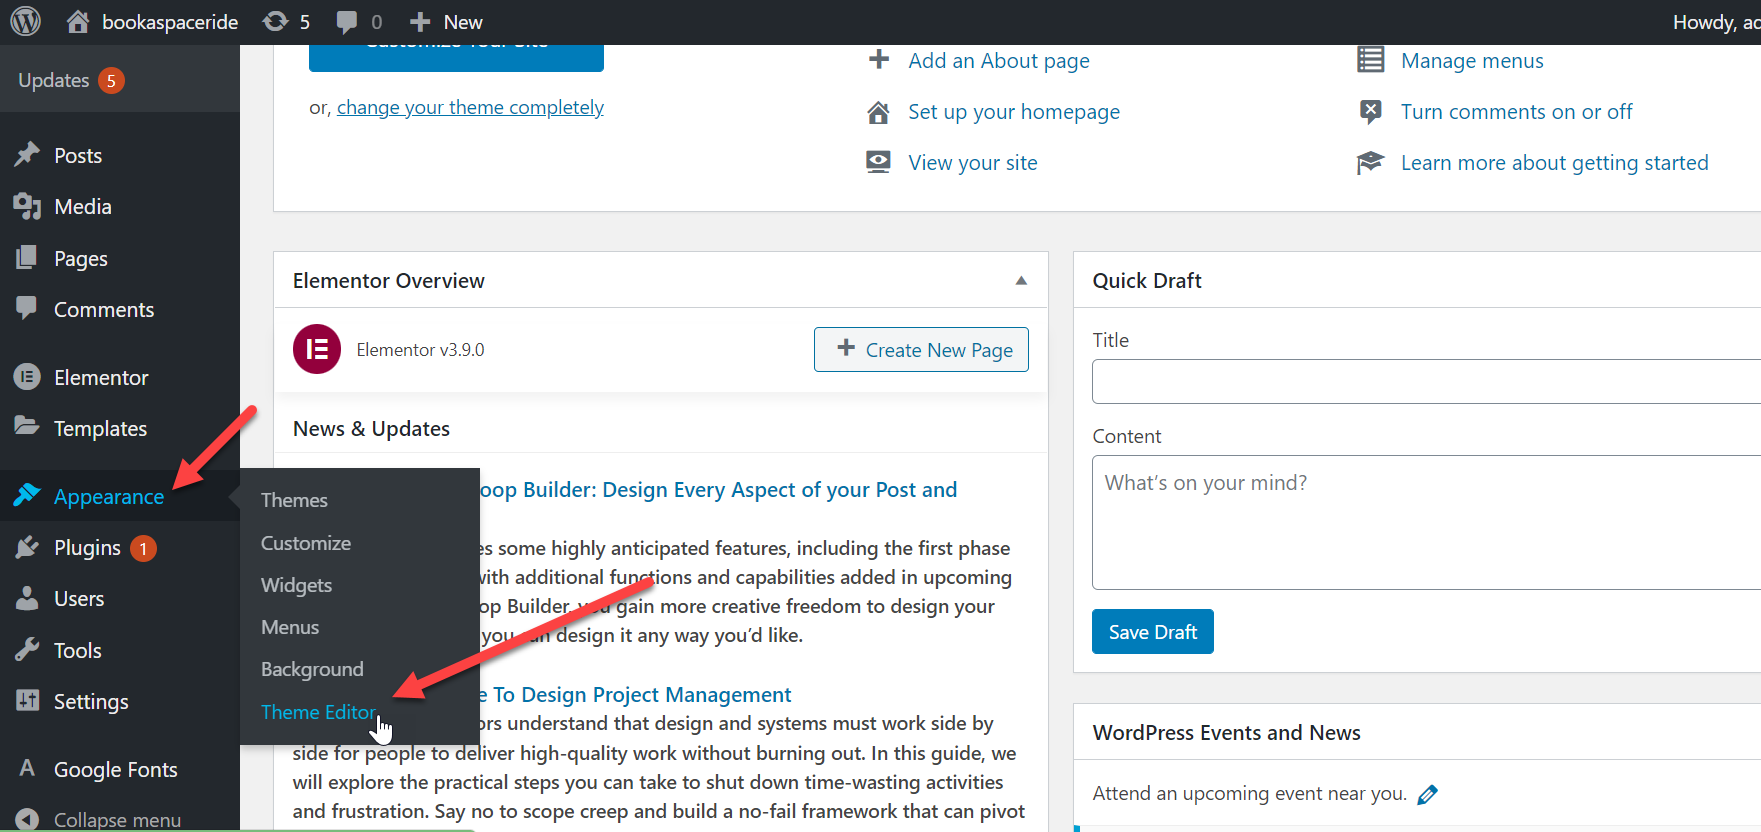
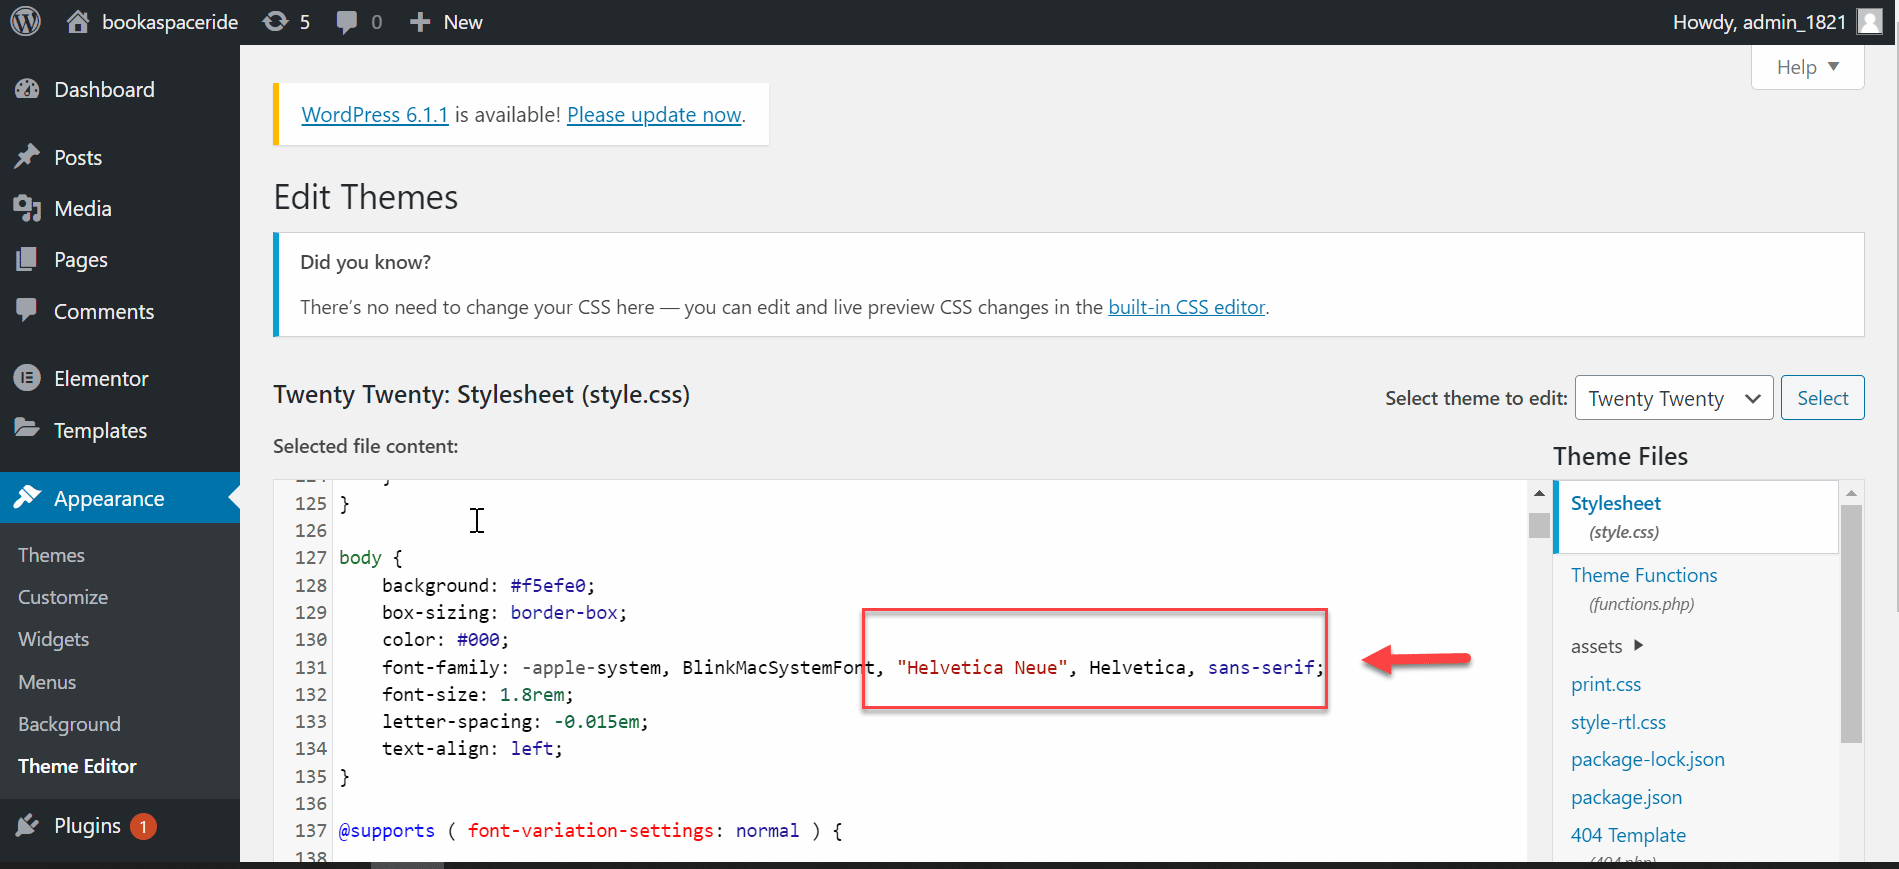
Open your WordPress dashboard and select ‘Appearance,’ then ‘Editor.’ This will open the theme editor, where you can tweak individual files used in your theme.
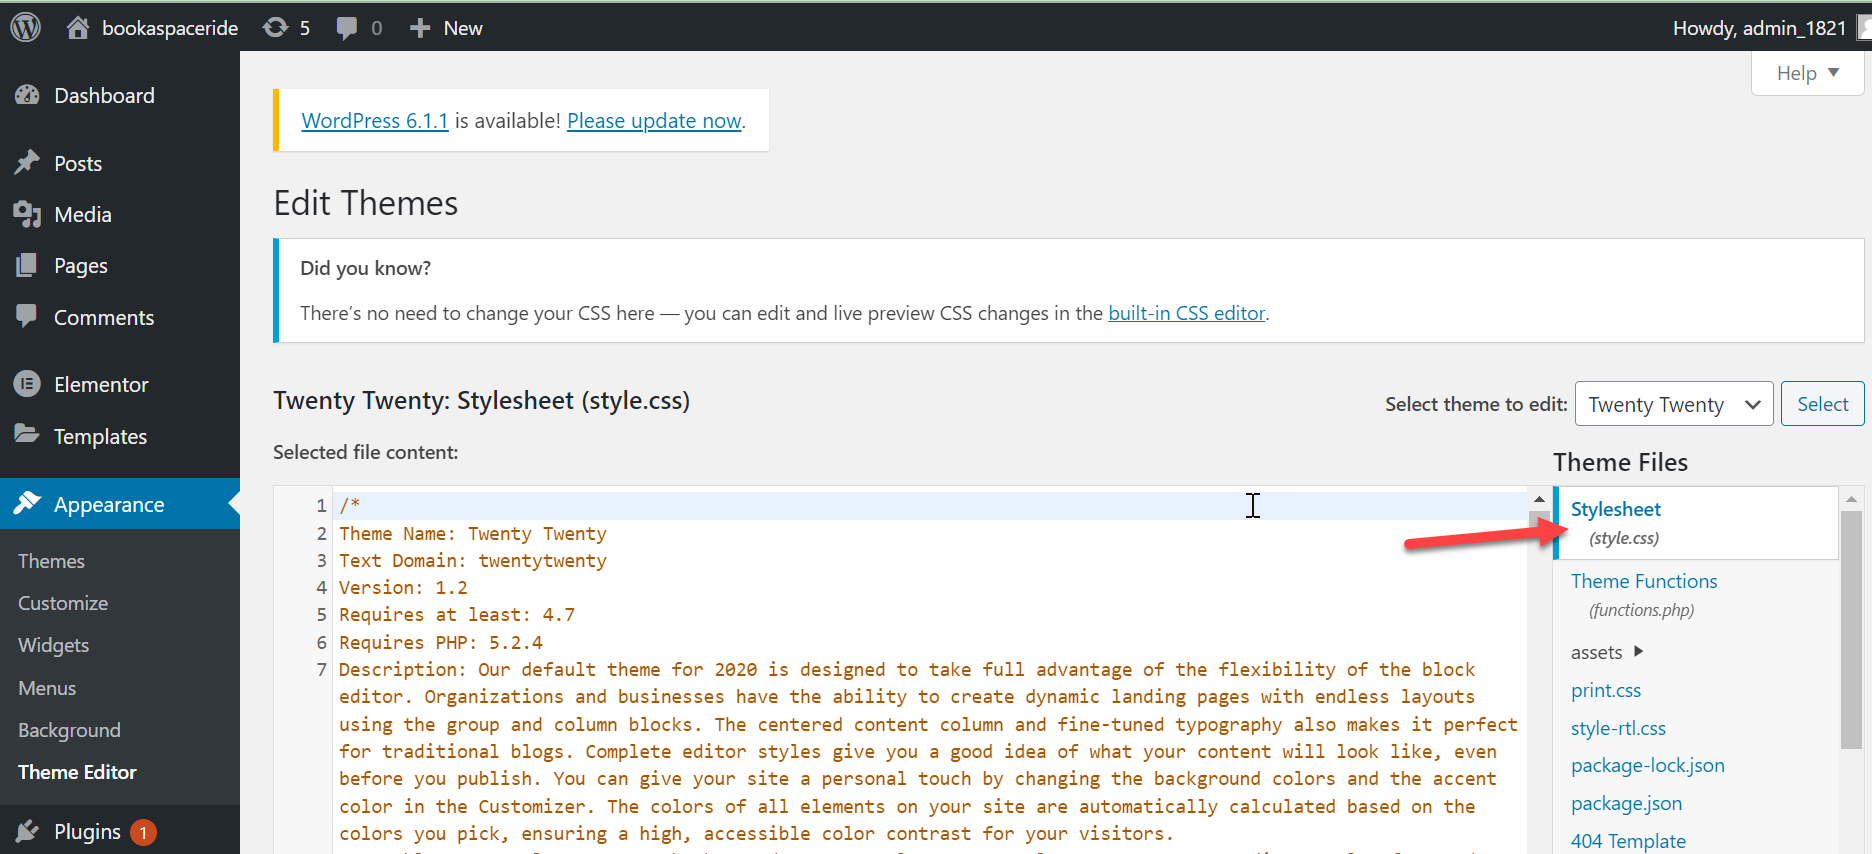
Once in the editor, select ‘style.css’ from the right-hand menu. Here you can find all the style settings for your theme.
Within ‘style.css,’ scroll down until you find the lines containing font family information and size information.
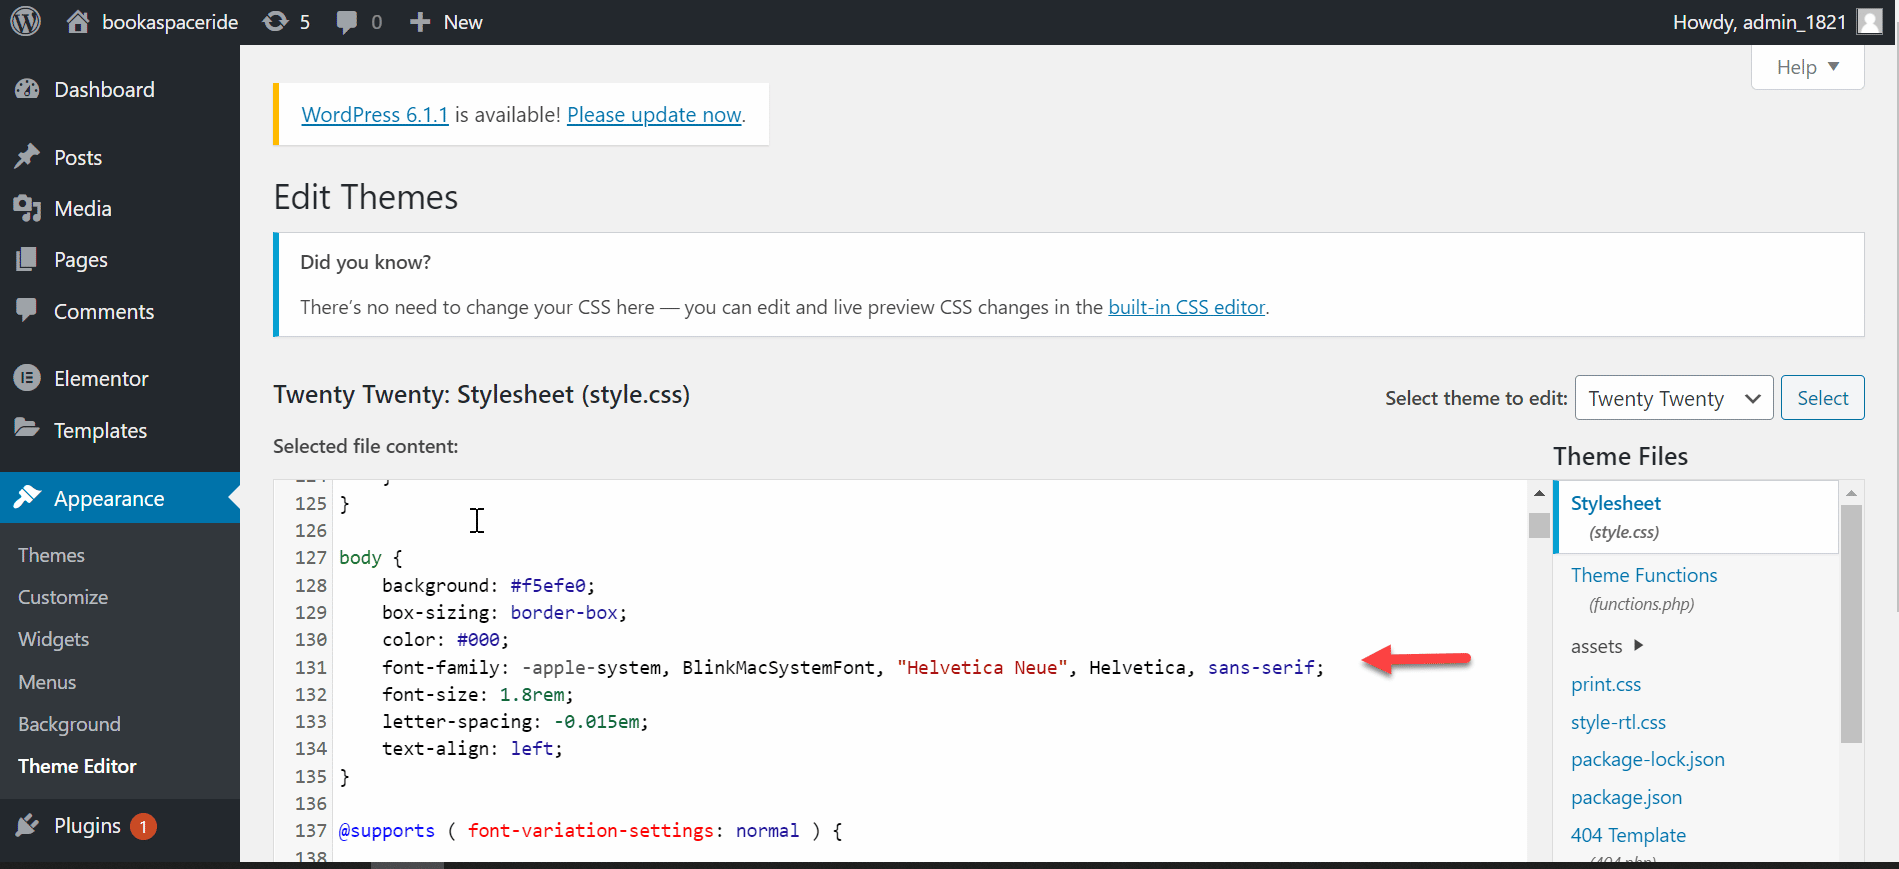
To change the font, Write the name of the font you’d like to use and save your changes. To modify the font size, adjust the numerical value in ‘font-size:’ and press save.
And that’s it. You have successfully changed the font and size of your WordPress theme.
3. Using a WordPress Plugin
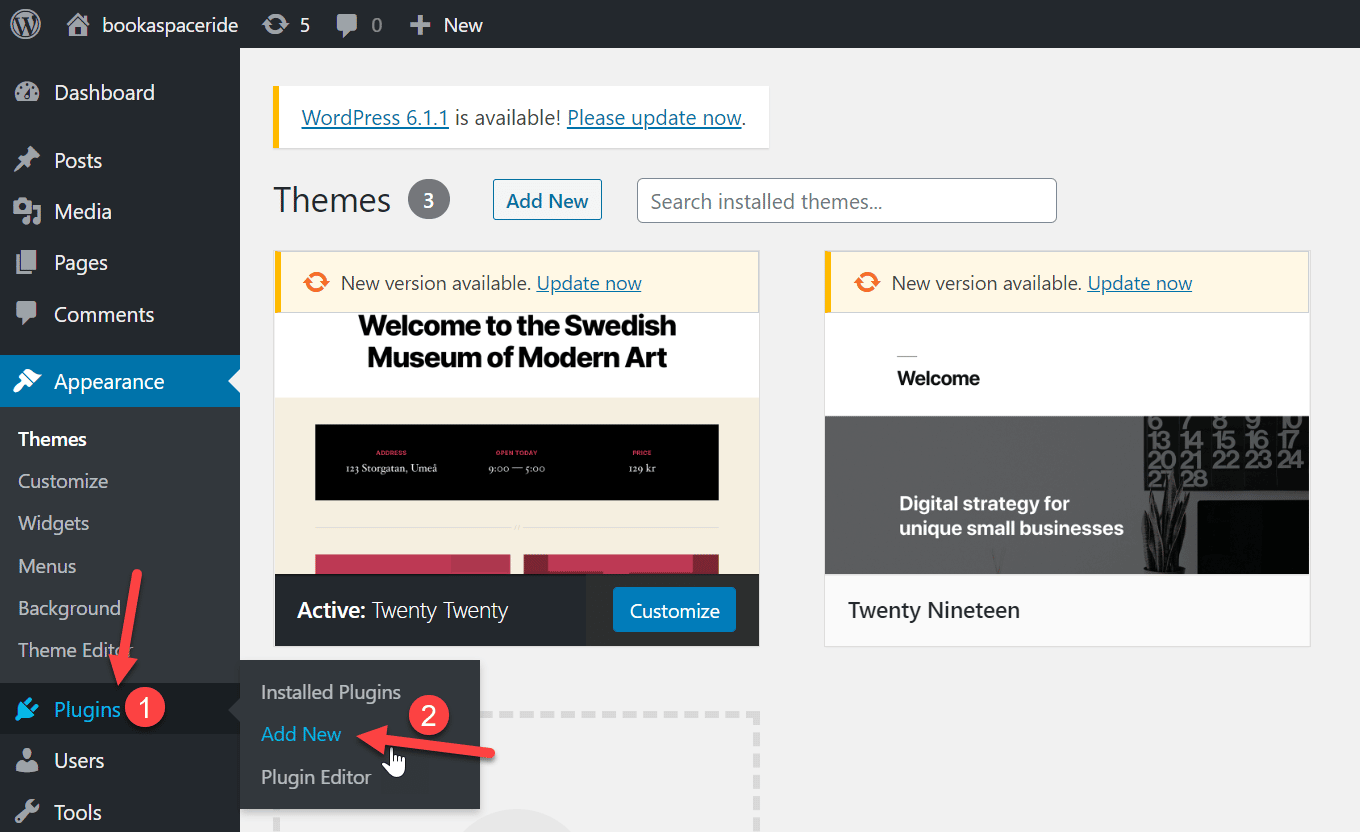
Changing fonts in WordPress themes using a WordPress plugin is an easy process. First, you must install and activate the plugin of your choice. The most popular plugins for font changing are WP Google Fonts and Typekit Fonts by Adobe.
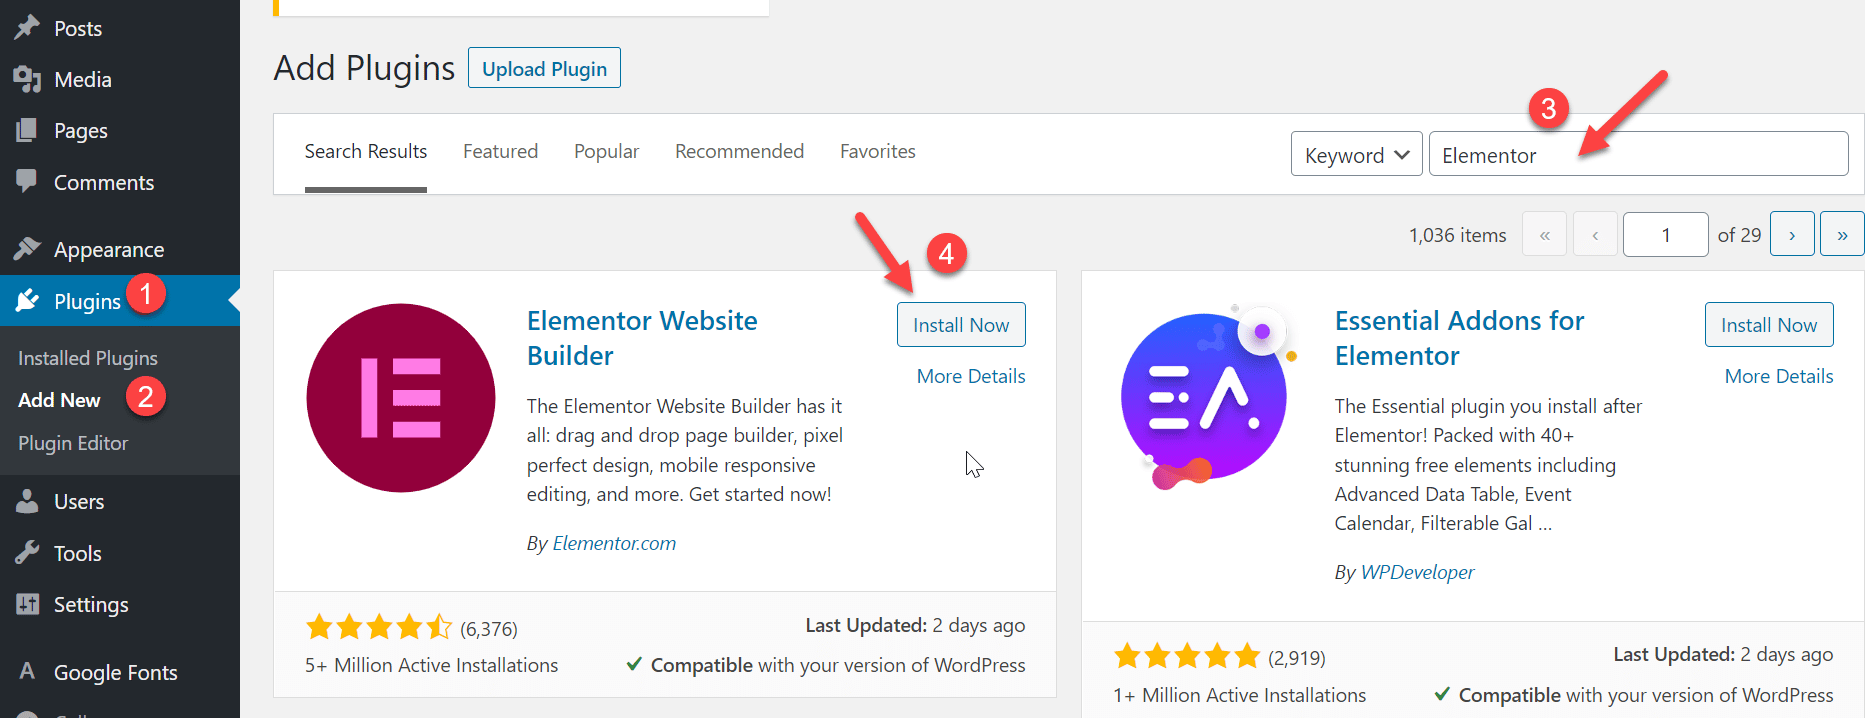
To add a new plugin to WordPress. Follow the steps mentioned in the image below.
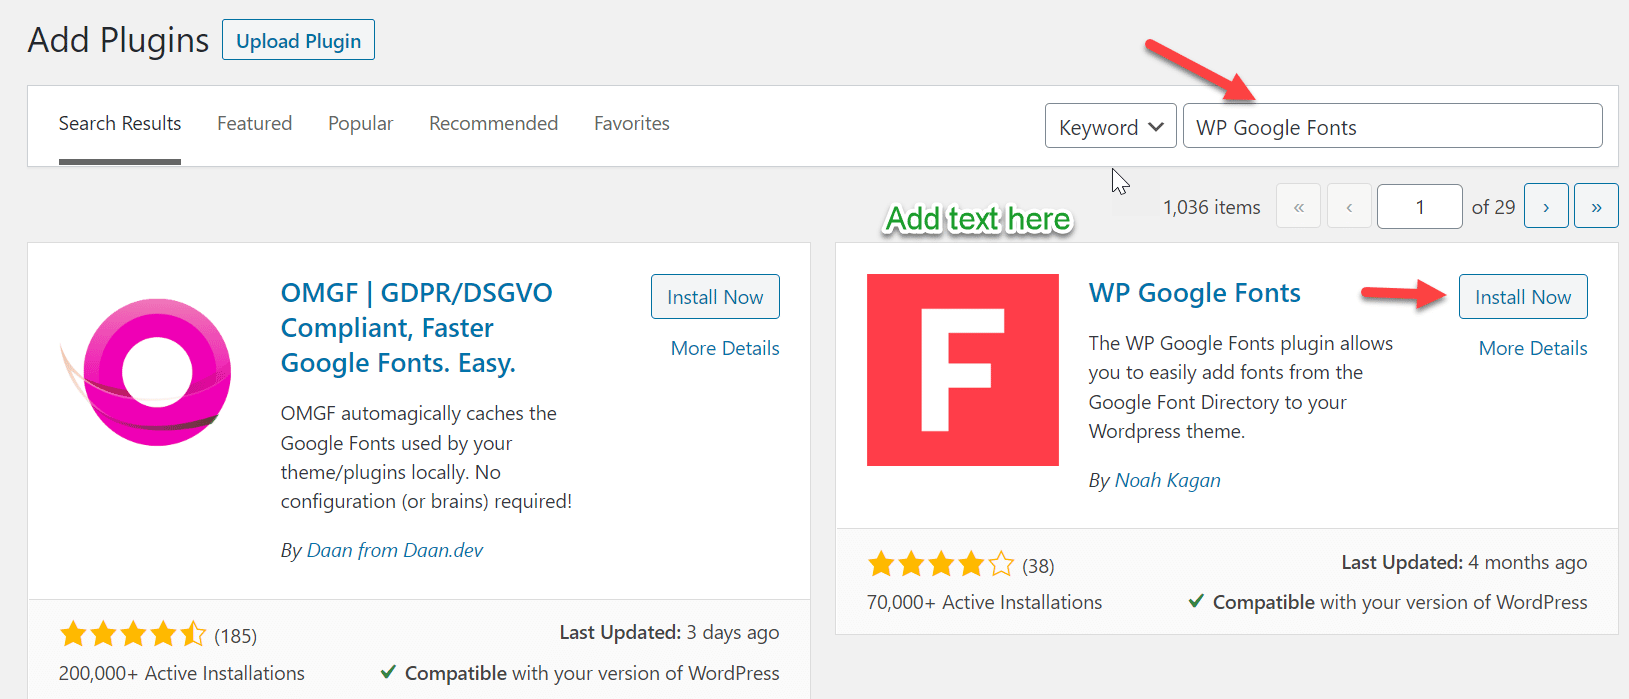
It will open up another screen in front of you where you can find the plugin of your choice. As we are talking about font change in WordPress, we will add the “WP Google Fonts” Plugin for this purpose.
You can search by using the search option on the top right side, as shown in the image.
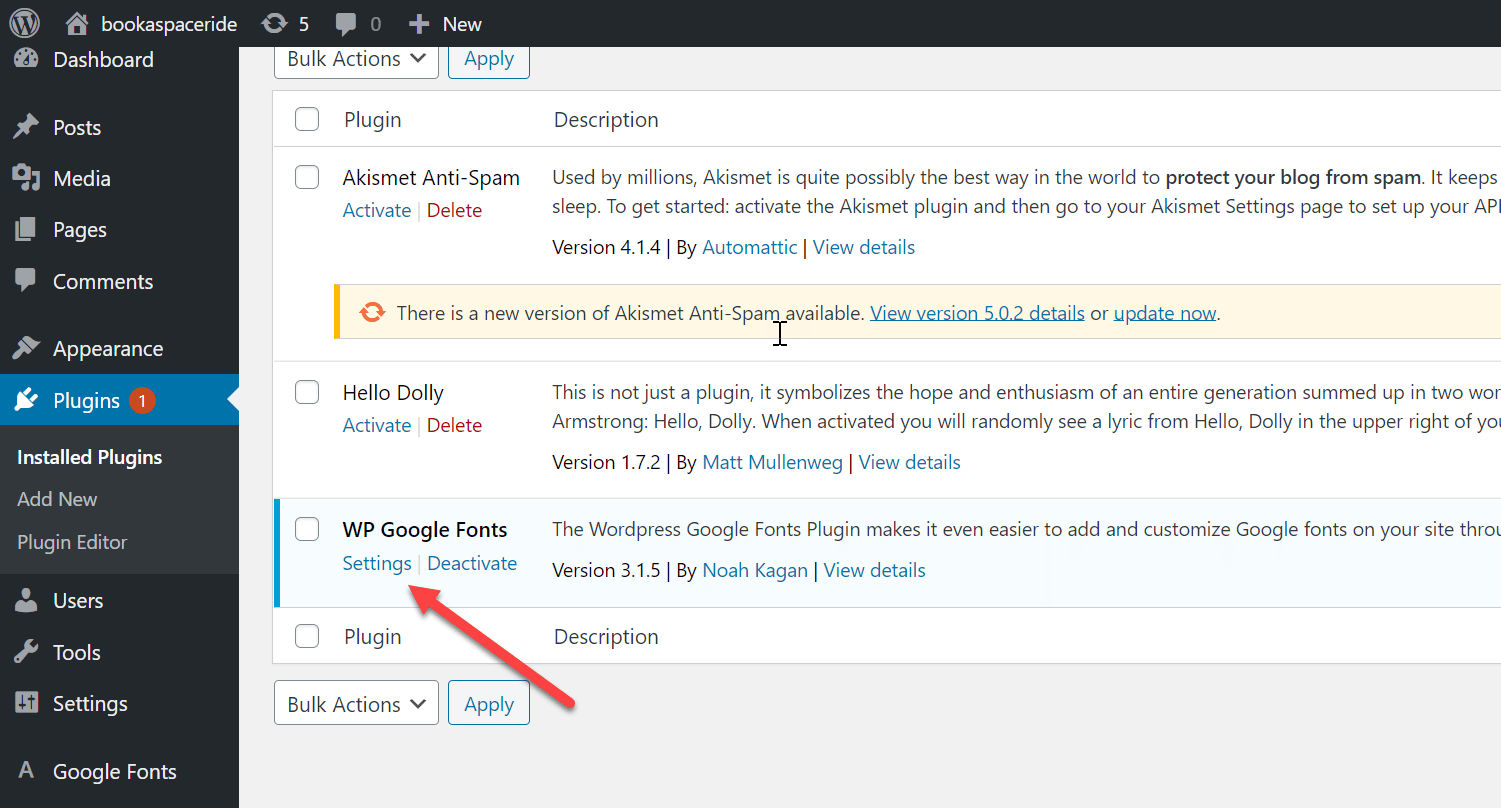
After you have successfully installed and activated the plugin, you can access its settings page. Here, you can select your font type, size, and color. You can also enable or disable certain features such as bolding, italicizing, underlining, etc.
Once you have completed the settings page, add CSS to your WordPress theme files.
This is done by adding code snippets to the theme’s style.css file, which can be found in the Appearance section of your WordPress dashboard.
With the plugin and CSS changes, you can easily change fonts in your WordPress themes.
Remember that some plugins may require additional steps or customizations depending on the specific plugin you are using.
4. Using a WordPress Theme Builder
A WordPress Theme Builder is a great way to change fonts in your WordPress themes. With a theme builder, you can customize your website’s font styles without manually editing any code.
You can choose from various fonts, sizes, and colors that you can apply to your design quickly and easily.
You must first choose a WordPress Theme Builder to get started. Many theme builders are available, some of which are free, and others require payment. Once you have chosen a theme builder, simply download it and install it on your website.
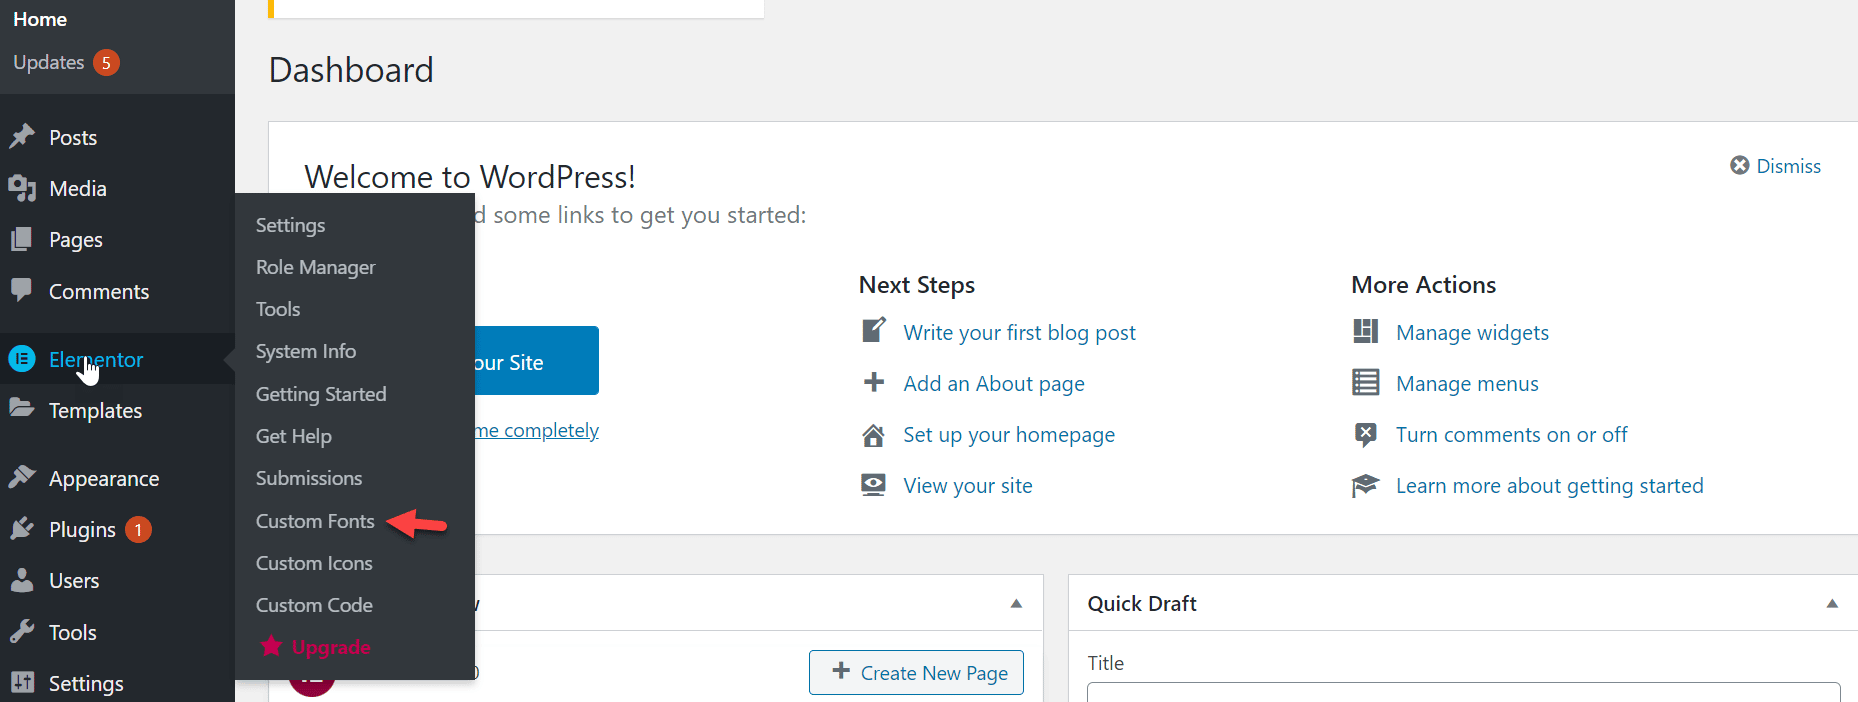
For this blog post, we are using Elementor. Follow the steps to apply elementor to your website.
Go to Plugins -> Add New -> Write “Elementor” in the search bar located in the top right corner -> Click on Install -> Activate.
Once installed, you can begin creating your design by choosing fonts, colors, and sizes that will work with your WordPress theme.
You can select any font and apply it directly to your site.
When you are ready to make changes or tweaks to the design, simply click a button in the theme builder, and the changes will be applied instantly.
5. Using WordPress Content Editor
To modify the font in a particular blog page or post using the WordPress content editor, simply edit the post or page, select the text you want to change, and Select “Google Fonts.”
You can alter the font style, size, letter case, and color and enable drop caps from here.

If you want a sitewide font change option, consider using other options. However, note that this method only applies the new font to that specific post or page. The process would need to be repeated for any other posts requiring similar customization.
How to incorporate Google Fonts into a WordPress theme
Adding Google Fonts to any WordPress Theme is an easy process that makes customizing the look of your website even easier. Following a few steps, you can easily add unique fonts to your website that align with its style and tone.
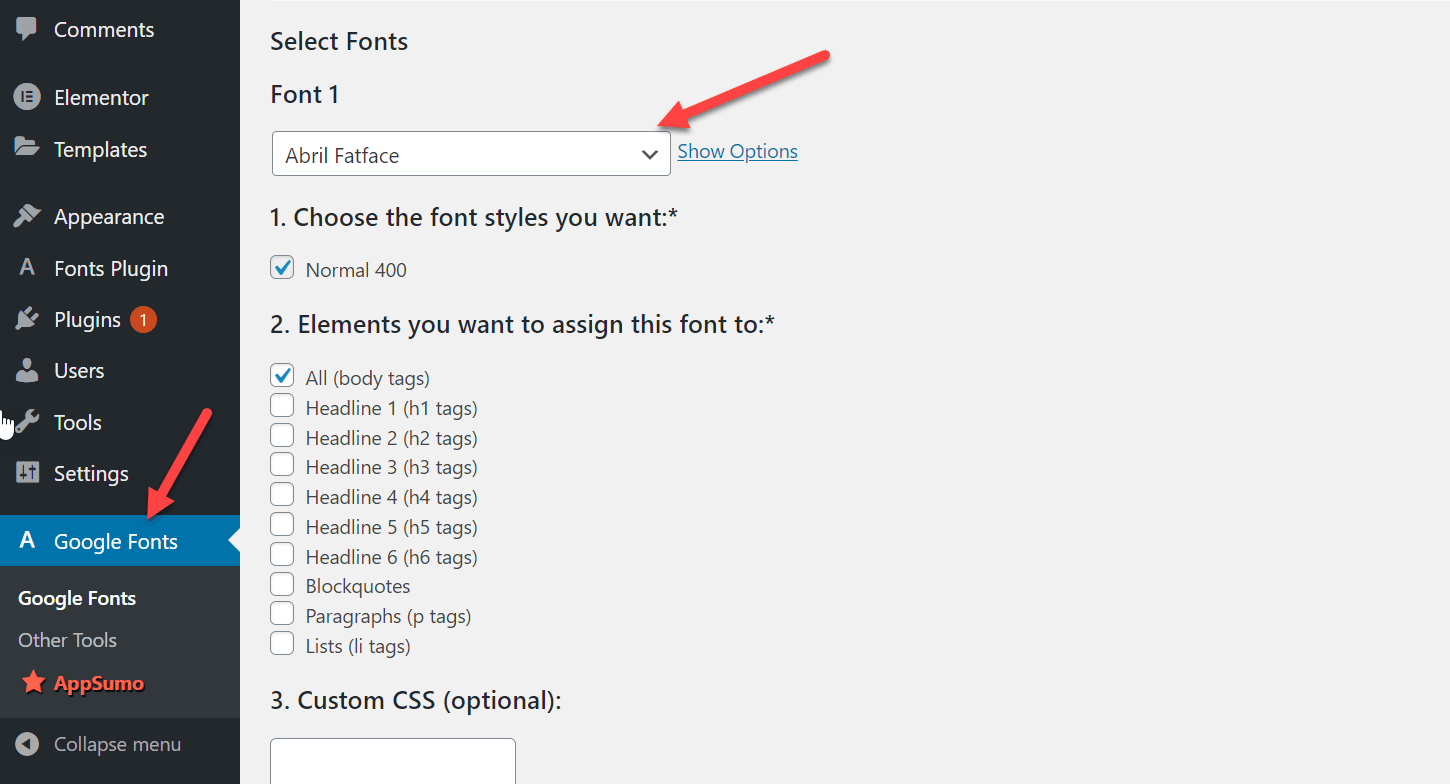
First, you must log in to your dashboard and navigate to the Google Font tab. It will give you many options to select from different fonts.
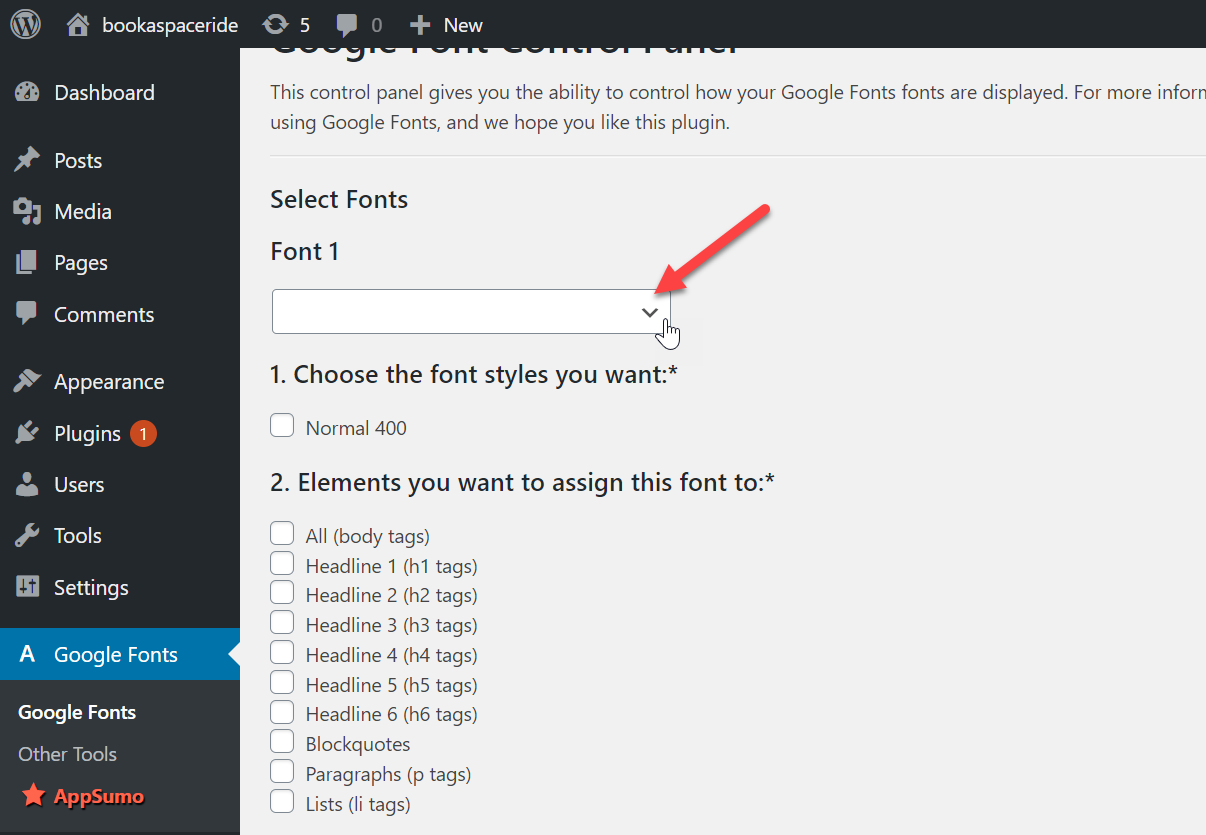
You will find a drop-down list of pre-installed fonts. Click on “Select Google Fonts,” and you will be prompted to the Google Fonts page.
“Choose the font you want to add and click the “Add to Collection” button. Once added to your collection, you can apply it to your website. You can add multiple fonts of your choice.
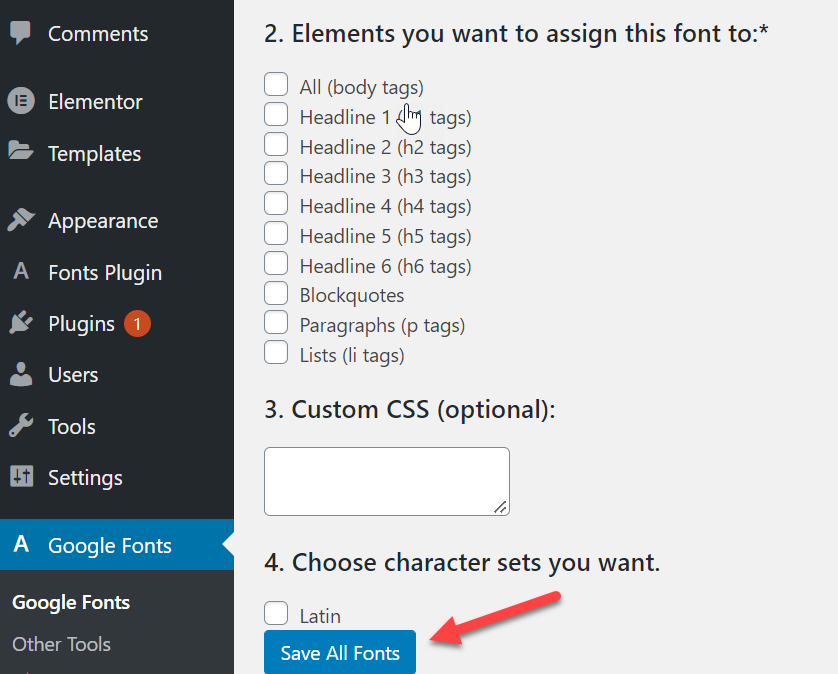
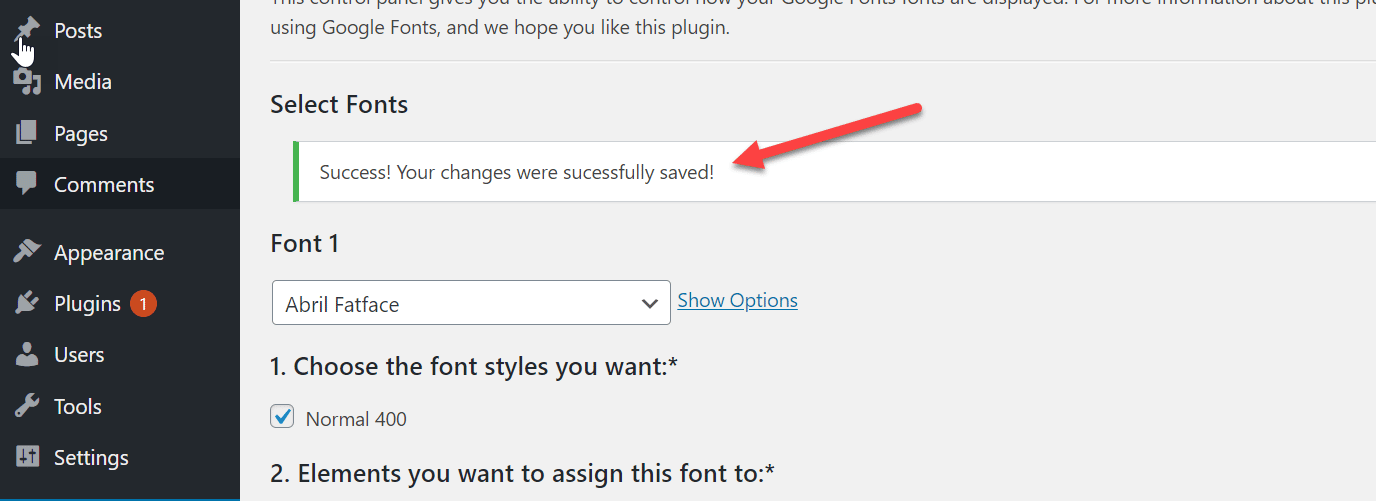
Once you have selected the desired Google Font, click on the “Save all Fonts” button. This will apply the font to your selected elements, and you should now be able to see it in action.
You can change the fonts on your WordPress site using a few different methods. The best method for you will depend on how comfortable you are with the code and whether or not you have a theme builder plugin installed.
If you’re comfortable working with code, using the WordPress Customizer or Full Site Editor is the easiest way to change fonts. We recommend using the Easy Google Fonts plugin if you don’t mind installing a plugin.
And finally, if you’re using a theme builder like Beaver Builder or Elementor, changing fonts is as easy as clicking a few buttons. Whichever method you choose, test your changes on all devices before making them live on your site.
Don’t forget to back up your site before making any changes.